
In the articles component options you can define the default css class that will apply to your intro images : in the blog layout, and in the full article layout.
These CSS classes are used to change the way your images are displayed. Template Creator CK includes few classes that you can use to cover all the use cases.
Articles options : Change the default CSS classes
When you are in the articles component, click on the Options button at the top right of the interface to enter in the options panel. Then go in the Editing Layout tab and search at the bottom the 2 fields for the Intro Image Class and Full Text Image Class :
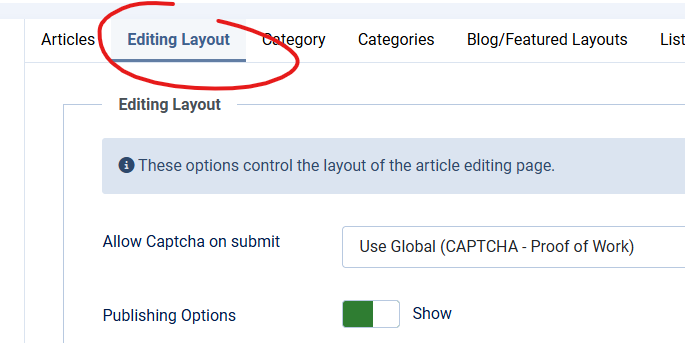
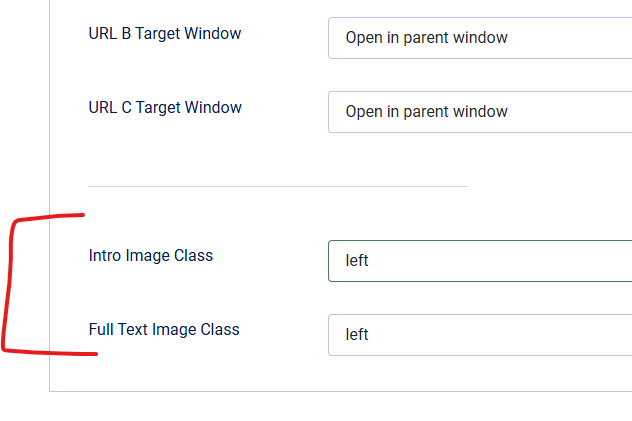
By default you will get the word left in both fields. It means that all your intro images and full article images will be left aligned. But there are few alignement options available, let's see it now.
All Image Class options
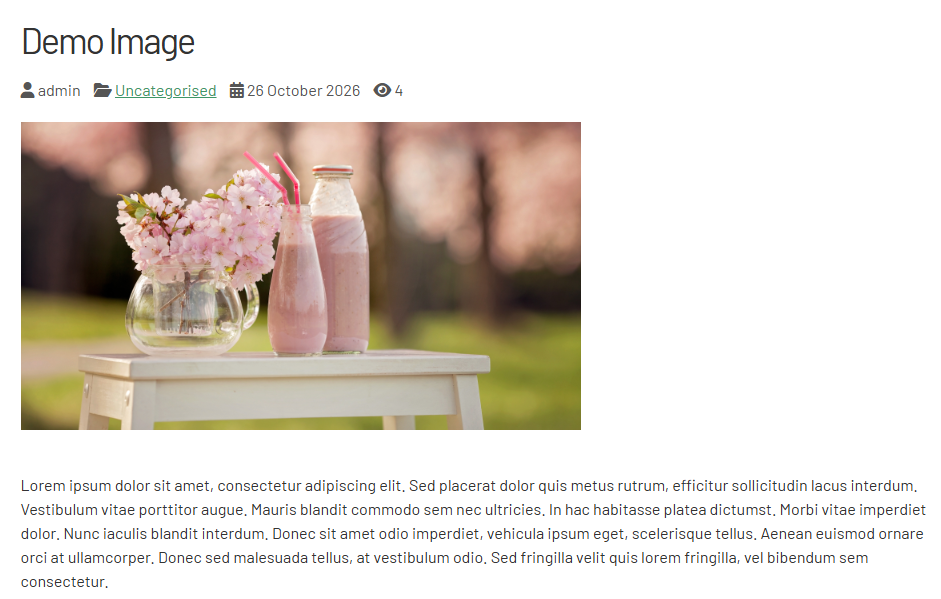
left : image on the left, text under
You can use the left Image class to put the image on the left. It will stay in a row, and the text will take place under it :
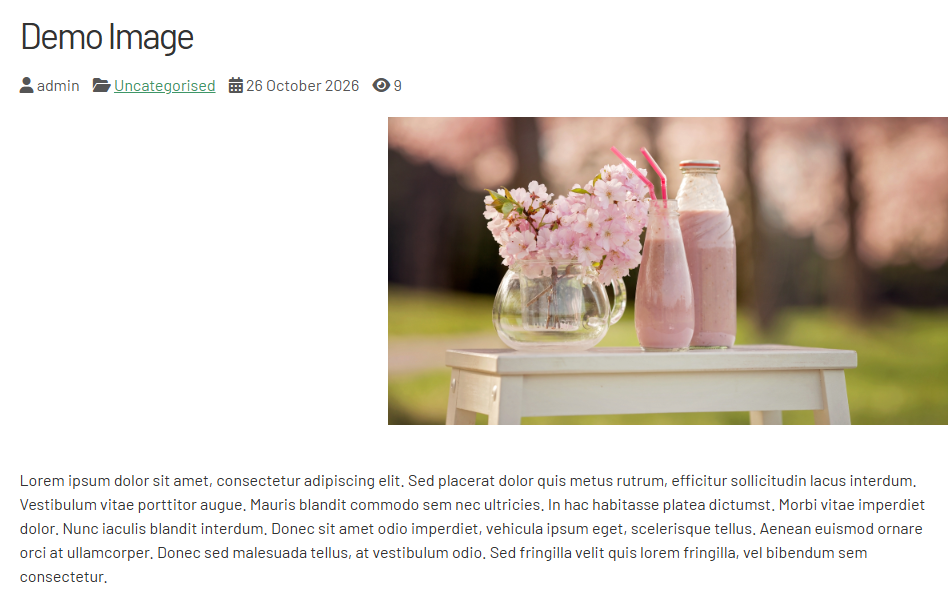
right : Image on the right, text under
You can use the right Image class to put the image on the left. It will stay in a row, and the text will take place under it :
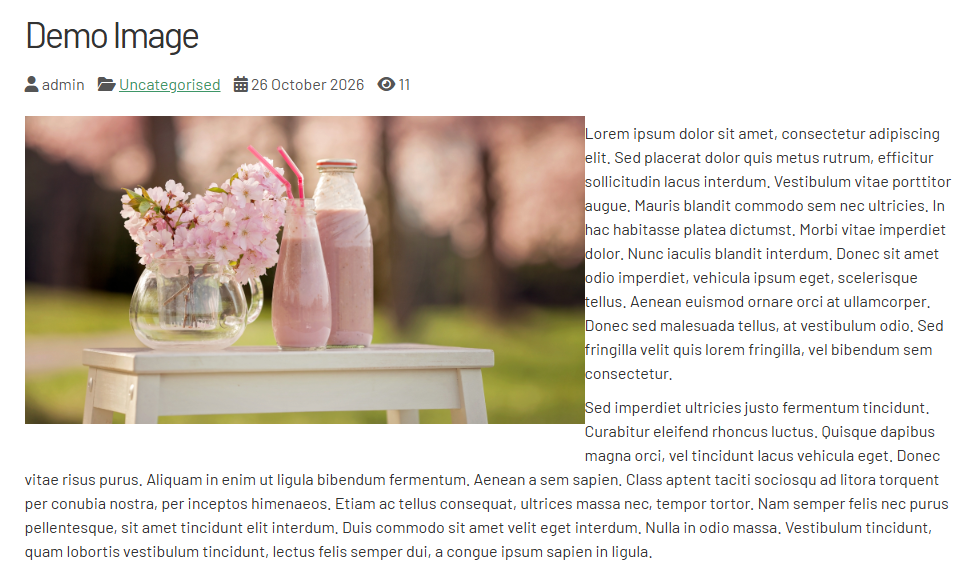
float-left : Image on the left, text aside
You can use the float-left Image class to put the image on the left. As the image will float using a CSS float:left, it will make the text to come stick to the image and take place to the right of it :
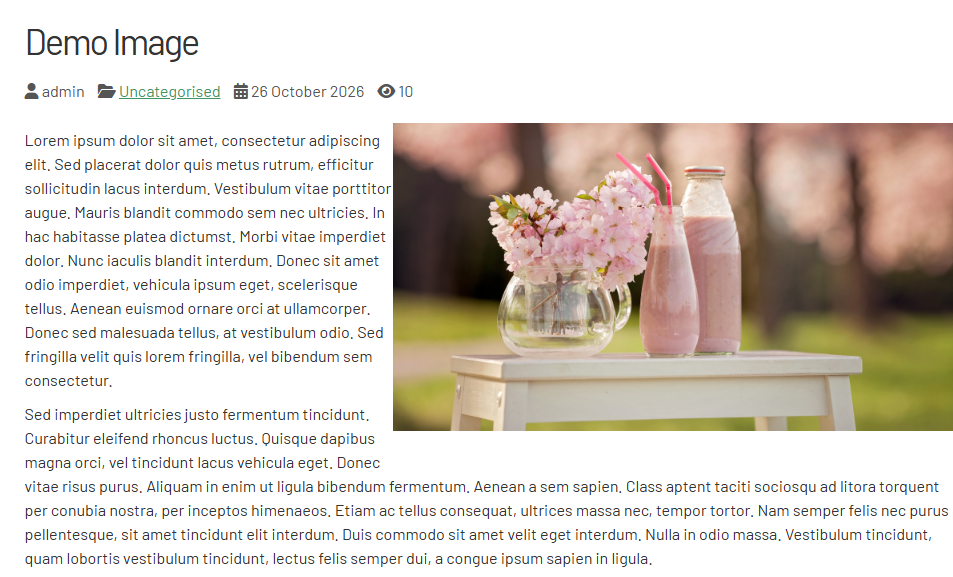
float-right : Image on the right, text aside
You can use the float-right Image class to put the image on the left. As the image will float using a CSS float:right, it will make the text to come stick to the image and take place to the left of it :
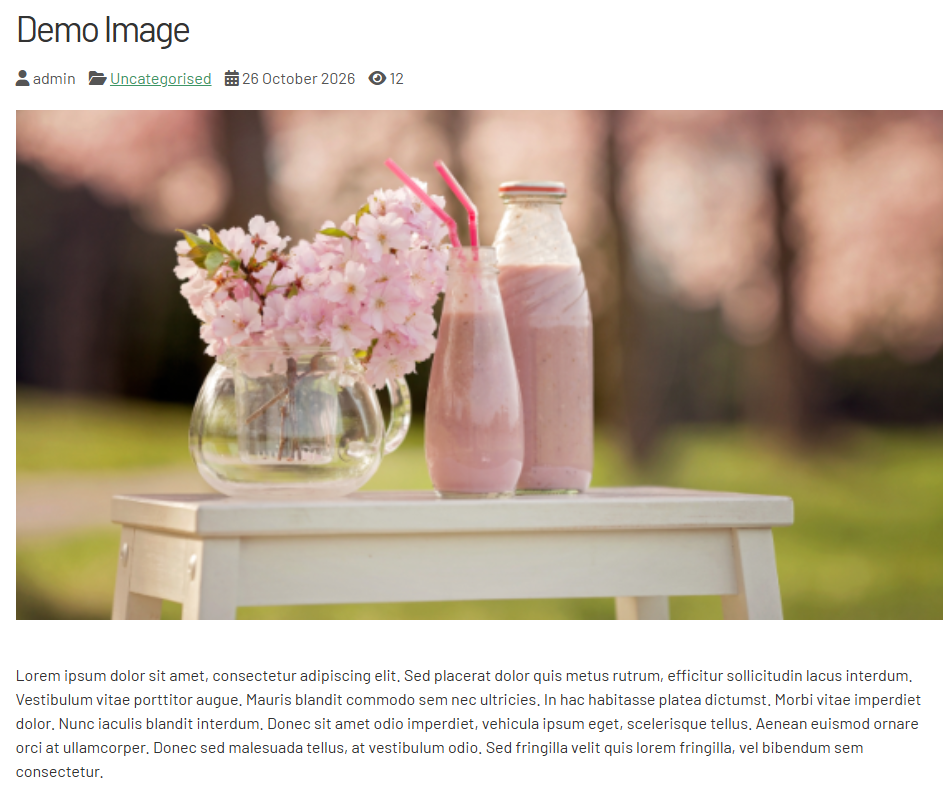
(empty) : Full width image, text under
You can leave the field empty (with not text at all), and no CSS class will be added. In this case, the image will take 100% of the place into the article, as a header image :
NOTE : the float-left and float-right classes are not working in the blog layout, there are only available for the full article layout